Crossbleed Engine Start
Overview
This procedure is used when a normal APU Bleed start is not possible, usually due to the APU being inoperative.
It may be prudent to inform ATC that you will be performing a crossbleed start, as the procedures and process may take longer than a normal start and carry certain risks both to the ground crew and the airport infrastructure.
Realistic Situations
It is important to note that crossbleed engine starts should not be performed under the following conditions in real life:
- During pushback operations
- Situations where the thrust of the engine would endanger life or property
Procedure
To explain this procedure, we will assume that an ASU was used to start ENG 1, and the flight crew will start ENG 2 using the crossbleed procedure.
Stable Version
Actual Procedure Requires ASU
A crossbleed engine start normally requires an ASU to be connected to the aircraft to start the first engine. This is not available in the Stable version.
For now, you would have to start a single engine normally (APU ON and APU BLEED ON) before carrying on with a crossbleed start.
Initial State
Before using this procedure ensure:
- One engine should already be started and AVAIL. This allows the bleed air from the running engine to be used to start the other engine.
APU BLEED-OFFENG MODE-NORM
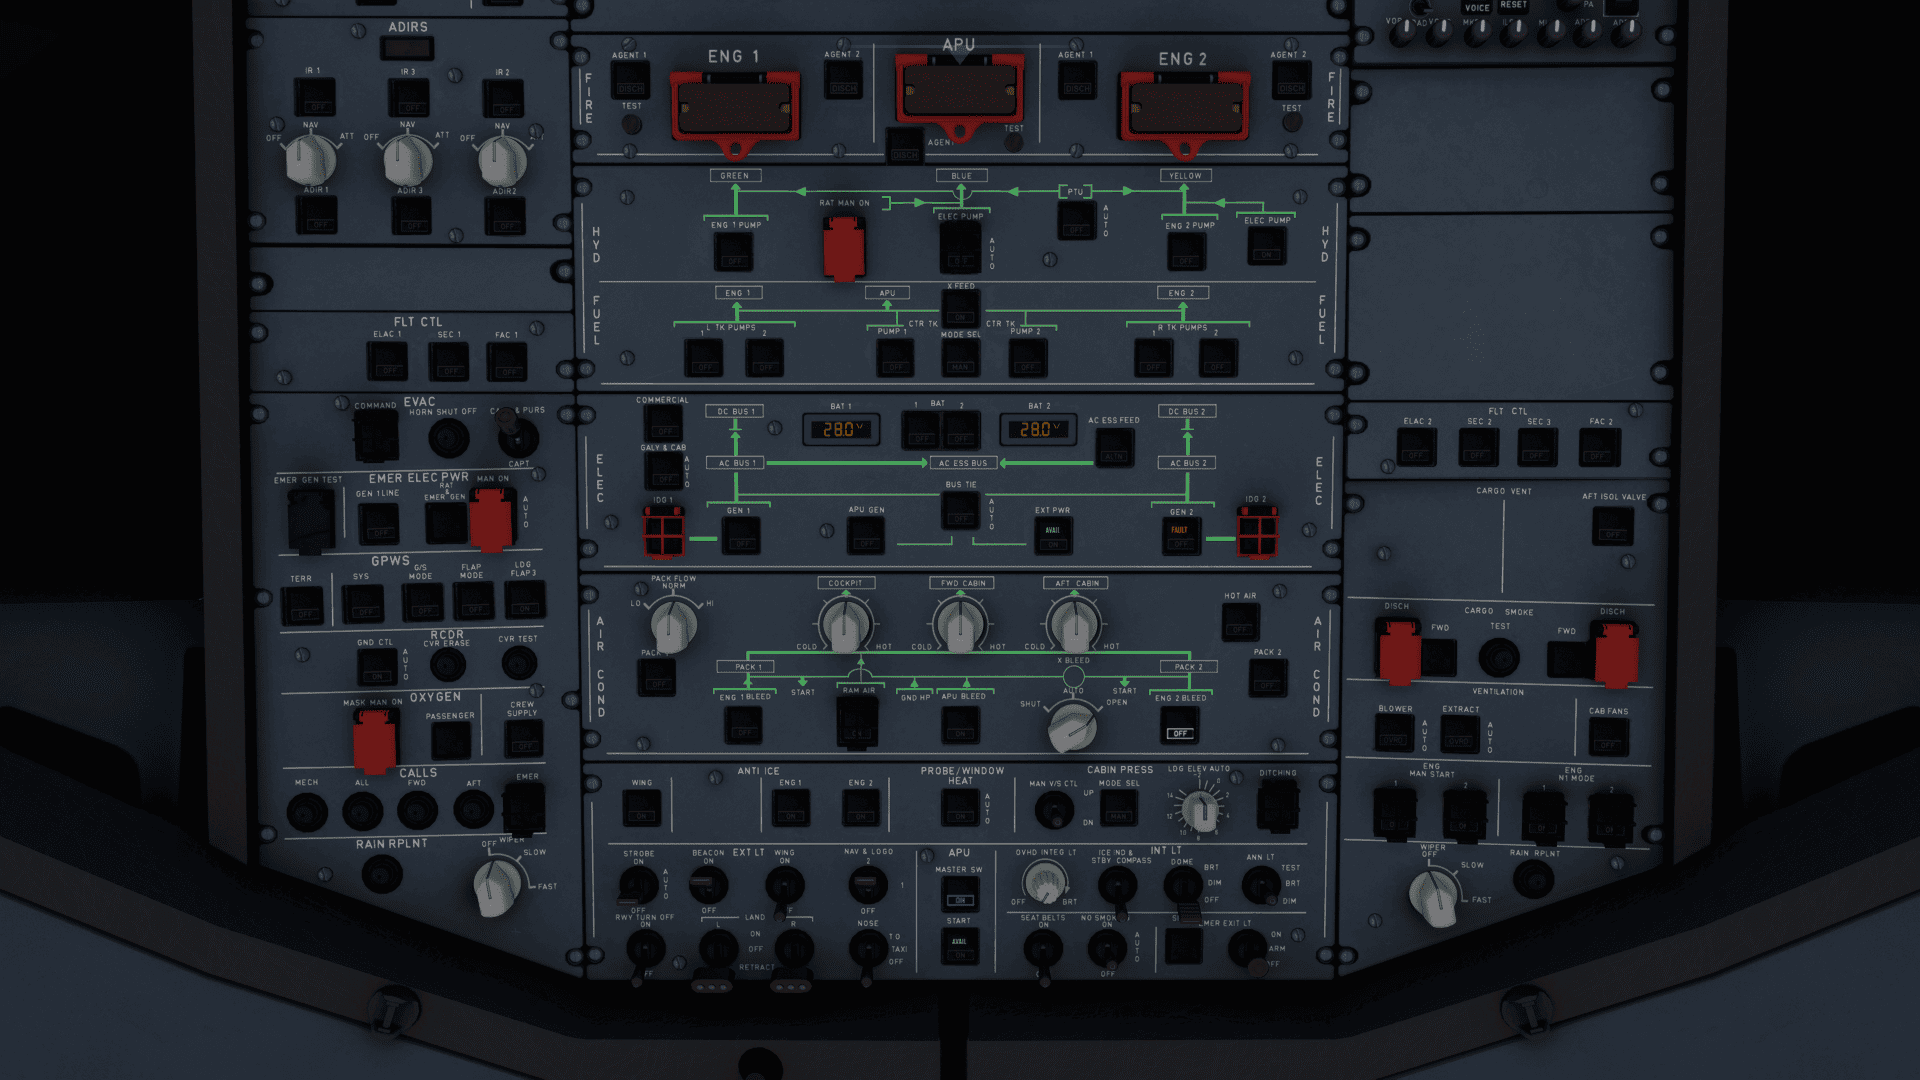
Overhead Bleeds Configuration
ENG BLEED for the receiving engine needs to be switched OFF. This is to prevent the bleed air from the running engine from escaping through the receiving engine
(reverse flow leakage).
The X BLEED VALVE should be switched to the OPEN position.
Ensure that ENG 2 BLEED is OFF for this sample procedure.
Engine Start
-
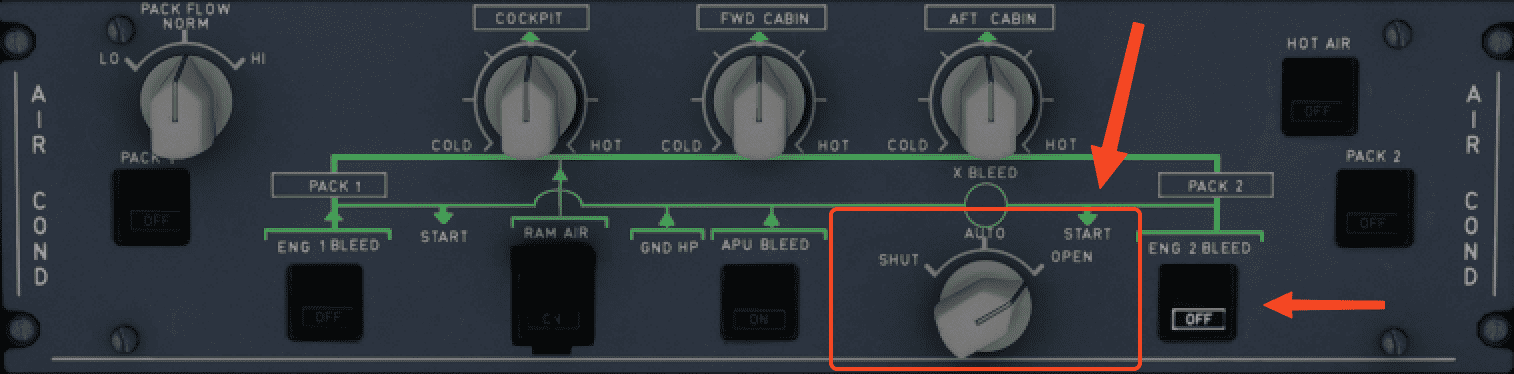
Begin by verifying the bleed page on the lower ECAM display.
- Crucially, that the bleeds on both sides are connected via the
X BLEEDvalve and that theENG 2 BLEEDvalve is closed (indicated by the amber line above IP for ENGINE 2).
- Crucially, that the bleeds on both sides are connected via the
-
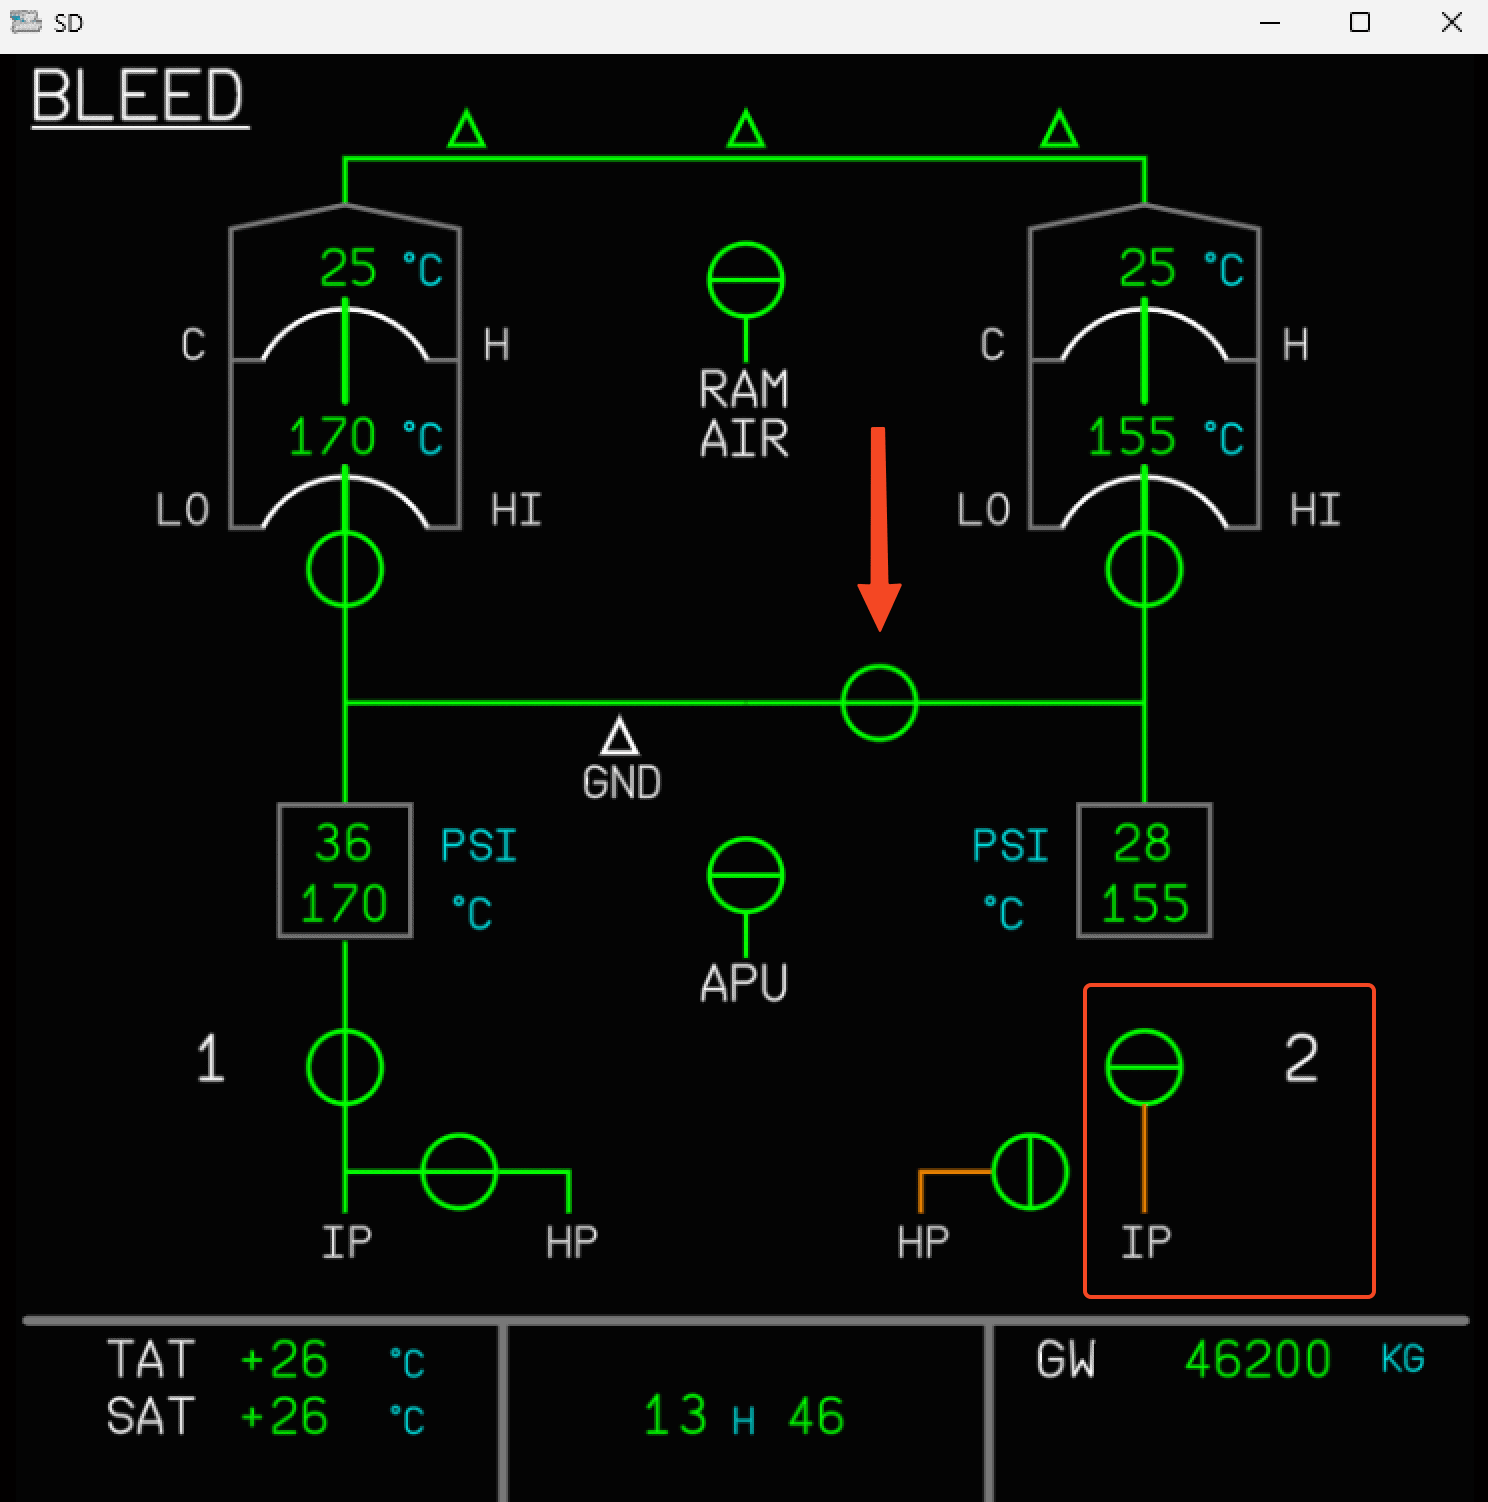
Deselect the BLEED page and turn the
ENG MODEtoIGN/START.- This should display the ENGINE page on the lower ECAM display.
-
Ensure that the IGN Bleed PSI for
ENG 2is at or above 30 PSI before attempting to start the engine.- It is not unusual on the NEO to see the pressure be at or above 30 PSI at IDLE power. If the pressure is below 30 PSI, increase the thrust of the running engine.
-
Switch
ENG MASTER 2to the ON position. Maintain at least 25 PSI during the entire start procedure.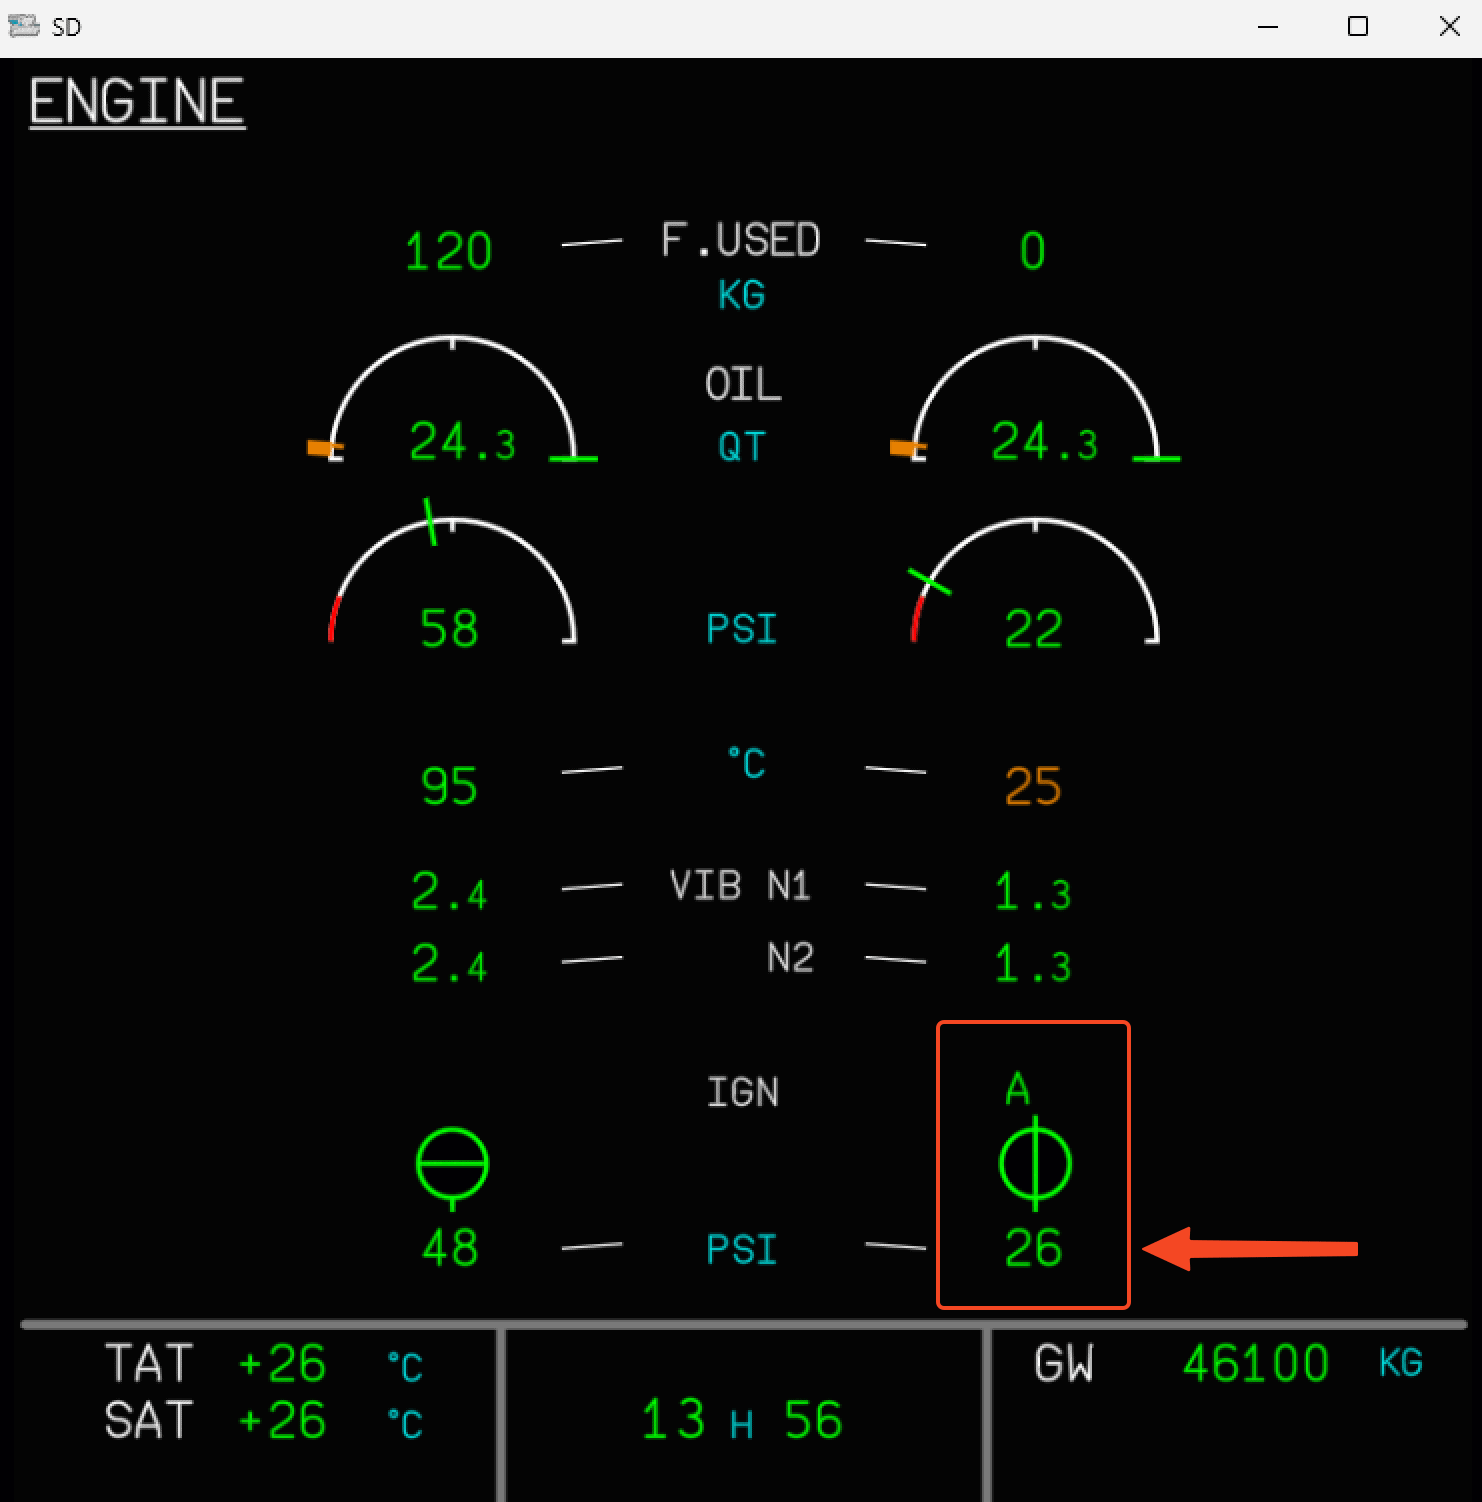
It is common to lose pressure during the start sequence. Advance the THR LEVERS of the supplying engine (ENG 1 in this scenario) to maintain at least 25 PSI.
If thrust required approaches 40 % N1 to maintain at least 25 PSI, ensure the surrounding area continues to be clear of obstructions. If you exceed 40 % N1 there maybe issues with your configuration and consider aborting the procedure.
The engine should start normally if you have followed the procedure correctly.
After Start
Once both engines are started, ensure the following in order:
- Set
ENG 1thrust lever toIDLE - Turn the
X BLEEDswitch on the overhead panel back toAUTO - Turn
ENG 2 BLEEDswitch back toON - Continue your regular flows and procedures before taxi out